

1.首先在/etc/hosts文件添加下面指向
23.224.197.158 auth.cdnfly.cn monitor.cdnfly.cn
或者运行
如果旧版本要升级,可以先更新自建云端的文件,然后执行“已安装过官方版的开心方法”这一部分的命令,最后在主控后台升级。
云端节点监控功能说明:
监控默认是使用云端服务器去请求CDN节点,因此要保持云端和CDN节点之间的网络畅通。另外如果是用宝塔面板,php不要安装bt_safe扩展,否则无法使用tcp类型监控;如果要用ping类型监控,还需要允许exec函数。
支持多节点监控(和官方一样),要添加其它监控节点,可以编辑config.php配置文件,根据里面的注释说明添加。
修改为你自身安装节点,或使用默认的github节点安装
/opt/cdnfly/master/panel/src/views/system/update/index.html
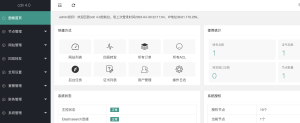
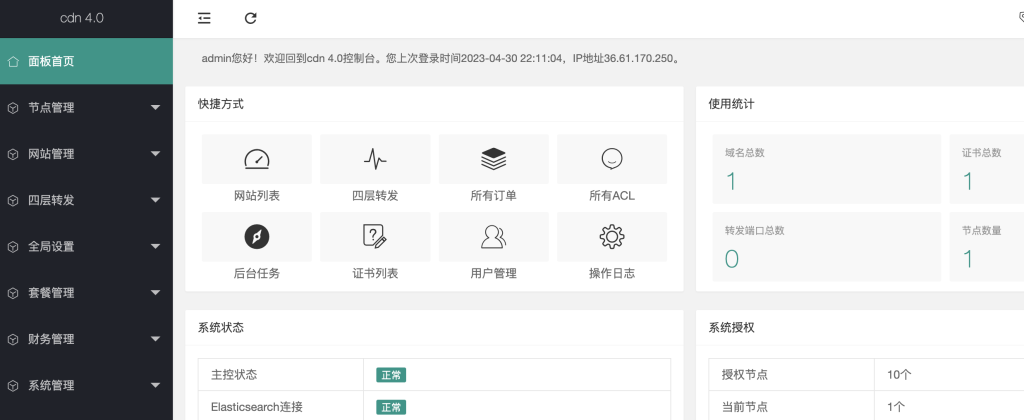
主控登录地址为: http://主控IP/
管理员账号和密码: admin/cdnfly
普通用户账号和密码: jason/cdnfly
服务器配置要求
主控
1.内存 – 因为主控安装有Elasticsearch,推荐16G及以上,如果网站访问量比较小,8G也行,至少4G。
2.硬盘 – 建议固态硬盘, 同样考虑访问日志大小,推荐100G及以上,量小的话都可以。
3.CPU – CPU至少2核
4.开放80 88 9200端口
节点
1.内存 – 至少2G及以上
2.硬盘 – 根据网站缓存的大小配置
3.CPU – Nginx主要是跑CPU,所以要想访问性能好,CPU尽量好点。
4.开放80 443 5000端口
系统
支持Centos-7—Ubuntu-16.04
官方最新公共
尊敬的cdnfly用户:
目前发现登录安全漏洞,需要及时按照如下方法来临时修复。找-个只有你知道的域名,这个域名用于管理员登录。
如的域名,不用带http://,路径为:系统管理—>系统设置—>用户相关,限制管理员只能从此域名登录
搬迁主控
注意:下面的迁移步骤不包括迁移elasticsearch的数据
1 备份旧主控数据
在旧主控执行如下命令开始备份(注意:备份前会停止旧主控的进程)
cd /root
curl http://us.centos.bz/cdnfly/backup_master.sh -o backup_master.sh
chmod +x backup_master.sh
./backup_master.sh
这时候将在目录/root下,打包生成cdn.sql.gz文件,请把这个文件传输到新主控的/root/目录下,可以使用scp命令,命令如下:
cd /root
scp cdn.sql.gz root@新主控IP:/root/
2 在新机器安装好主控程序
首先登录cdnfly.cn,更新授权为新主控ip,并清空机器码
登录旧主控机器,执行如下命令查看版本:
grep VERSION_NAME /opt/cdnfly/master/conf/config.py
如下图,版本为v4.1.6:
登录新机器,执行如下命令安装:
curl http://dl.cdnfly.cn/cdnfly/master.sh -o master.sh
chmod +x master.sh
./master.sh –ver v4.1.60
其中v4.1.60替换成自己的主控版本号
3 登录新主控,恢复备份
执行如下命令恢复
cd /root
curl http://us.centos.bz/cdnfly/restore_master.sh -o restore_master.sh
chmod +x restore_master.sh
./restore_master.sh
从旧主控下载/opt/cdnfly/master/conf/config.py上传到新主控覆盖
然后在新主控初始化es,重启新主控
执行如下命令初始化:
cd /tmp
wget us.centos.bz/cdnfly/int_es.sh -O int_es.sh
chmod +x int_es.sh
./int_es.sh /home/es
supervisorctl restart all
其中/var/lib/elasticsearch为es的数据目录,可以更改成其它的,比如/home/es
4 替换节点里的主控IP
一个个登录节点,执行如下命令替换
new_master_ip=”这里替换为新主控IP”
sed -i “s/ES_IP =.*/ES_IP = \”$new_master_ip\”/” /opt/cdnfly/agent/conf/config.py
sed -i “s/MASTER_IP.*/MASTER_IP = \”$new_master_ip\”/g” /opt/cdnfly/agent/conf/config.py
sed -i “s/hosts:.*/hosts: [\”$new_master_ip:9200\”]/” /opt/cdnfly/agent/conf/filebeat.yml
logs_path=`awk ‘/error_log/{print $2}’ /usr/local/openresty/nginx/conf/nginx.conf | sed ‘s/error.log//’`
if [[ `echo $logs_path | grep ^/ ` != “” ]];then
sed -i “s#.*access.log# – $logs_path/access.log#” /opt/cdnfly/agent/conf/filebeat.yml
sed -i “s#.*stream.log# – $logs_path/stream.log#” /opt/cdnfly/agent/conf/filebeat.yml
fi
sed -i “s#http://.*:88#http://$new_master_ip:88#” /usr/local/openresty/nginx/conf/listen_80.conf /usr/local/openresty/nginx/conf/listen_other.conf
ps aux | grep [/]usr/local/openresty/nginx/sbin/nginx | awk ‘{print $2}’ | xargs kill -HUP || true
supervisorctl restart filebeat
supervisorctl restart agent
supervisorctl restart task
主控更换ip后节点修改命令
new_master_ip=”这里替换为主控IP”
(后台系统升级里查看es_pwd密码)
es_pwd=”这里替换为es密码”
sed -i “s/ES_IP =.*/ES_IP = \”$new_master_ip\”/” /opt/cdnfly/agent/conf/config.py
sed -i “s/MASTER_IP.*/MASTER_IP = \”$new_master_ip\”/g” /opt/cdnfly/agent/conf/config.py
sed -i “s/hosts:.*/hosts: [\”$new_master_ip:9200\”]/” /opt/cdnfly/agent/conf/filebeat.yml
chattr -i /usr/local/openresty/nginx/conf/ /usr/local/openresty/nginx/conf/listen_80.conf /usr/local/openresty/nginx/conf/listen_other.conf
sed -i “s#http://.*:88#http://$new_master_ip:88#” /usr/local/openresty/nginx/conf/listen_80.conf /usr/local/openresty/nginx/conf/listen_other.conf
chattr +i /usr/local/openresty/nginx/conf/ /usr/local/openresty/nginx/conf/listen_80.conf /usr/local/openresty/nginx/conf/listen_other.conf
sed -i “s/ES_PWD =.*/ES_PWD = \”$es_pwd\”/” /opt/cdnfly/agent/conf/config.py
sed -i “s/password:.*/password: \”$es_pwd\”/” /opt/cdnfly/agent/conf/filebeat.yml
sed -i “s/agent-pwd:.*/agent-pwd: \”$es_pwd\”/” /opt/cdnfly/agent/conf/filebeat.yml
ps aux | grep [/]usr/local/openresty/nginx/sbin/nginx | awk ‘{print $2}’ | xargs kill -HUP || true
supervisorctl -c /opt/cdnfly/agent/conf/supervisord.conf restart filebeat
supervisorctl -c /opt/cdnfly/agent/conf/supervisord.conf restart agent
supervisorctl -c /opt/cdnfly/agent/conf/supervisord.conf restart task


暂无评论内容